Do you want to learn how to use EWWW Image Optimizer Plugin in WordPress?
Modern image formats like WebP offer superior image compression by decreasing file size. This reduces bandwidth usage and speeds up website loading.
In this article, we’ll show you how to easily use the EWWW Image Optimizer plugin to serve WEbP images.
Disclosure: This post contains affiliate links, which means I may receive a small commission, at no additional cost to you, if you make a purchase through a link.
What is the EWWW Image Optimizer plugin?
EWWW Image Optimizer is a WordPress plugin that lets you optimize all your images. Therefore, it speeds up your website by compressing your images.
You can even generate WebP versions of your images with the Bulk Optimizer, and deliver them to supported browsers.
The plugin comes with a free and a premium version.
The premium plan is a game-changer, offering five times more optimization compared to the free version. With this plan, you’ll be able to automatically convert your images to WebP/AVIF, compress PDF files, add watermarks to your images, optimize Google Fonts, cache your pages, and take your website’s speed to the next level.
There are three premium plans to choose from:
- The Standard plan for $7 a month
- The Growth plan for $15 a month
- The Infinite plan for $25 a month
Each plan varies in terms of the number of websites on which you can use the premium version, available bandwidth, and CDN delivery enhancements.
Even though the premium plan is an upgrade, the free version is still effective and gets the job done. But if you’re looking to take your website’s speed and performance to the next level, the premium plan is definitely worth considering.
Why you should use WebP image formats
According to Google Developers, WebP lossless images are 26% smaller in size compared to PNGs. You can reduce the size even further by using lossy WebP—those are 25-34% smaller than comparable JPEG images at an equivalent SSIM quality index.
What that means is that by using WebP, webmasters and web developers can generate smaller, richer images that speed up the web.
How to set up EWWW Image Optimizer
To use EWWW Image Optimize effectively, we’ll follow these easy steps. But before we start, make sure to create a backup of your website in case anything goes wrong.
Installation
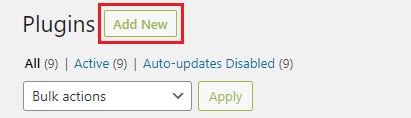
First of all, go to your WordPress admin area. Then, navigate to Plugins » Add New » Search Plugins… » Type “EWWW Image Optimizer” » Install now.
After you’ve installed EWWW Image Optimizer, Activate the plugin.
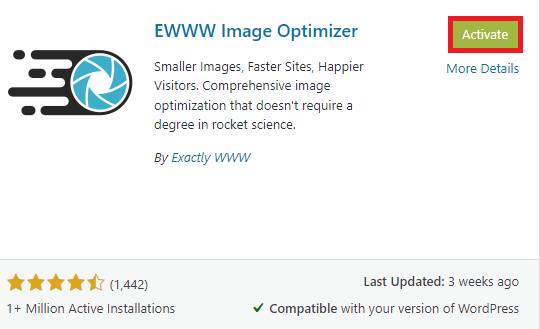
It’ll automatically open a wizard that’ll walk you through some of the settings but you can also set everything by yourself.
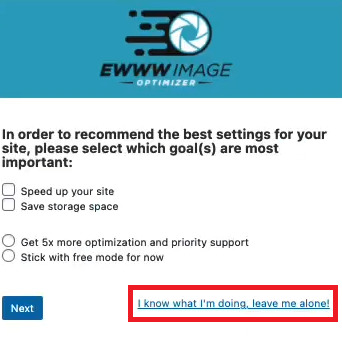
If you click on “I know what I’m doing, leave me alone!”, you’ll need to go to the Plugin section where you need to open Settings of EWWW Image Optimizer.

You’ll be taken to the Basic settings in the easy mode where you’ll have a few options.
Basic settings for decreasing the image size
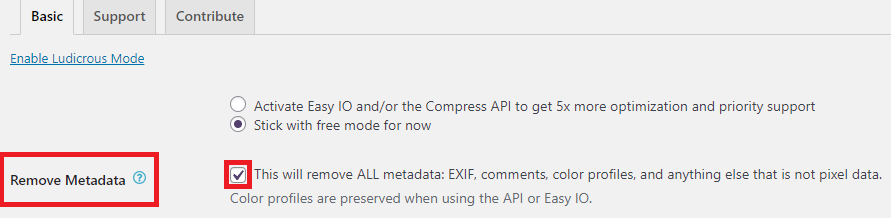
1. Remove all Metadata
First of all, you want to tick off Remove Metadata. This strips off all metadata.
Simply removing the metadata will reduce the image size, but will not change the quality of the images.
2. WebP Conversion
Secondly, scroll down to WebP Conversion and check it off.

If you are not using Cloudflare, you’ll see an option Insert Rewrite Rules under WebP Delivery Method.
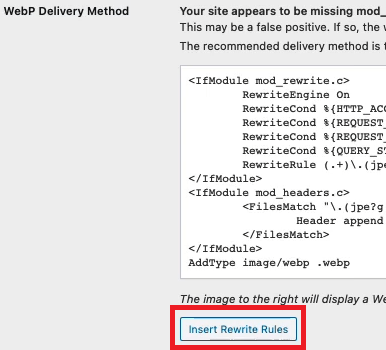
The red PNG icon will turn into a green WEBP one if it was successful.

As an alternative, you have the option of using the JS WebP Rewriting or Picture WebP Rewriting methods for WebP delivery. These work, but a little more slowly than the .htaccess approach.
If you are using Cloudflare, you’ll have the option to use either JS WebP or Picture WebP rewriting to prevent broken images on older browsers.
Check off JS WebP Rewriting.

3. Resize Uploaded Images
Another setting you might want to take a look at is Resize Images.

WordPress, your theme, and other plugins generate different versions of images with various sizes. You can check it out in the Resize tab if you have ludicrous mode enabled.
I, for example, know that I am using 768-width pictures in my articles and homepage. As a result, I set it to this number. You might want to implement a similar strategy when considering these parameters.
To sum it up, this setting basically resizes all of the images that are wider or taller than these values to the set values.
Take your image compression to the next level
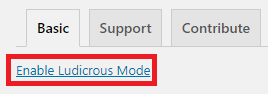
1. Enable Ludicrous Mode
By enabling Ludicrous Mode, you’ll have a chance to work with more advanced settings.
A notable setting for even better compression can be found in the Advanced tab.

2. Adjust JPG & WebP Quality Level
Scroll down and set JPG Quality Level and WebP Quality Level to your desired number. The lower the number, the lower the image size (but also the quality). You’ll want to balance it out according to your content and how much quality you are willing to sacrifice.
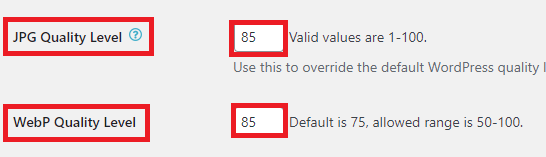
On this website, we’re using 85 for both because the text needs to be clear enough since this is a website with tutorials.
However, my other website is picture-heavy with no need for such quality, so we set the WebP Quality Level to 50. You can check the quality of the pictures in the article to see how it looks.

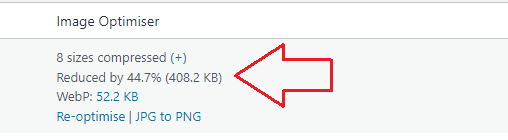
As you can see, it compressed the original picture by 44.7% and is serving the 52.2 KB version instead.
3. Automatically Convert PNG to JPG
Another setting to turn on is located in Convert » PNG to JPG Conversion.

JPG/JPEG files are smaller in size in comparison to PNG files. But as it states, it’s not a lossless conversion, so you’ll be sacrificing a bit of quality.
Bulk optimization
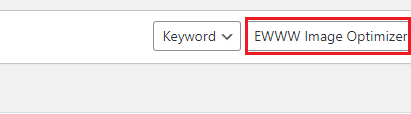
The free version can optimize all of your existing images but you’ll have to go to the Basic tab and either click on Bulk Optimizer in the right upper corner or next to the text describing Resize Image/WebP Conversion.

You’ll be taken to the Bulk Optimize section where you’ll click on Scan for unoptimized images.
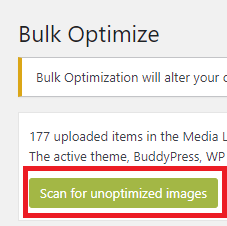
The scanner will start automatically and show you how many images you can optimize.
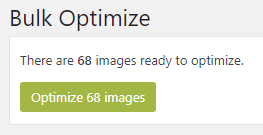
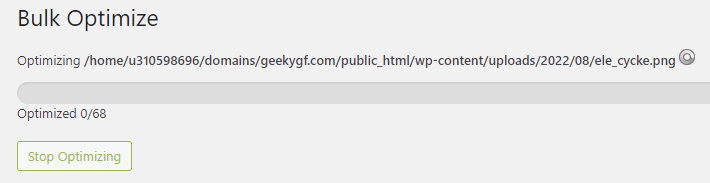
Press Optimize images and it’ll automatically start optimizing your images.
It will take quite a while if you have a lot of images uploaded.
Testing whether the WebP is served
To check whether it’s serving the WebP images properly, open some of your articles with pictures and right-click on the image, and copy the image address. Open a new window and paste, then press Enter.
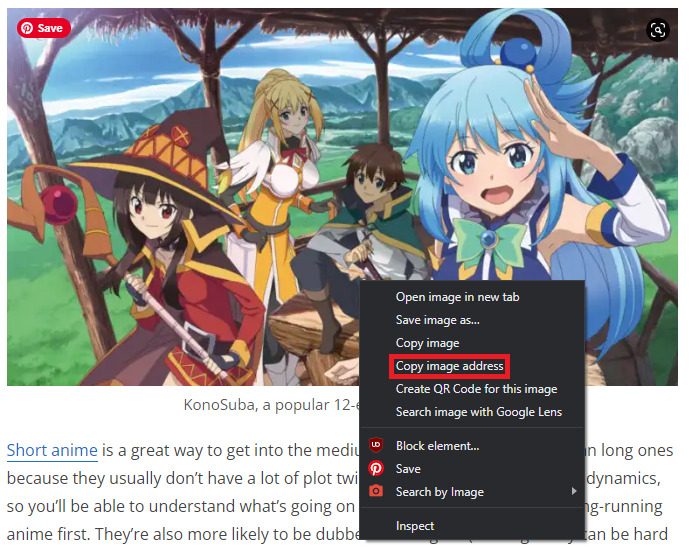
It should show you a .webp at the end of the image address.

In this example, the website serves the WebP version of the picture, so it’s working well.
Lazy Load
Lazy Load reduces both the actual and perceived loading times of the website by only loading images when they are about to enter the viewport.
To turn Lazy Load in EWWW Image Optimizer, go to Basic » Lazy Load. Tick off both Improve actual and perceived loading time and Automatic Scaling and test it on both phone and a PC.

All information regarding Lazy Load can be found in the documentation on EWWW IO’s official website.
Conclusion
EWWW Image Optimizer is one of the best plugins you can use to speed up your website by compressing your images and serving WebP images when applicable. This results in faster loading times and a better user experience for visitors.
Additionally, the plugin is user-friendly and easy to set up, making it a great option for both beginners and advanced users.
If you have any questions about the plugin, let us know in the comments below.