I remember being confused about how some people stitched anime images when I saw them on their Instagram, Reddit, Pinterest, Facebook, or even Twitter. I immediately asked myself: how can I make such pretty anime stitches?
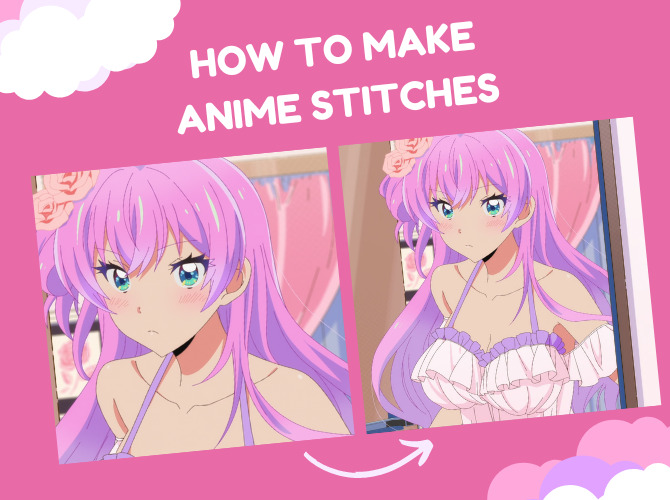
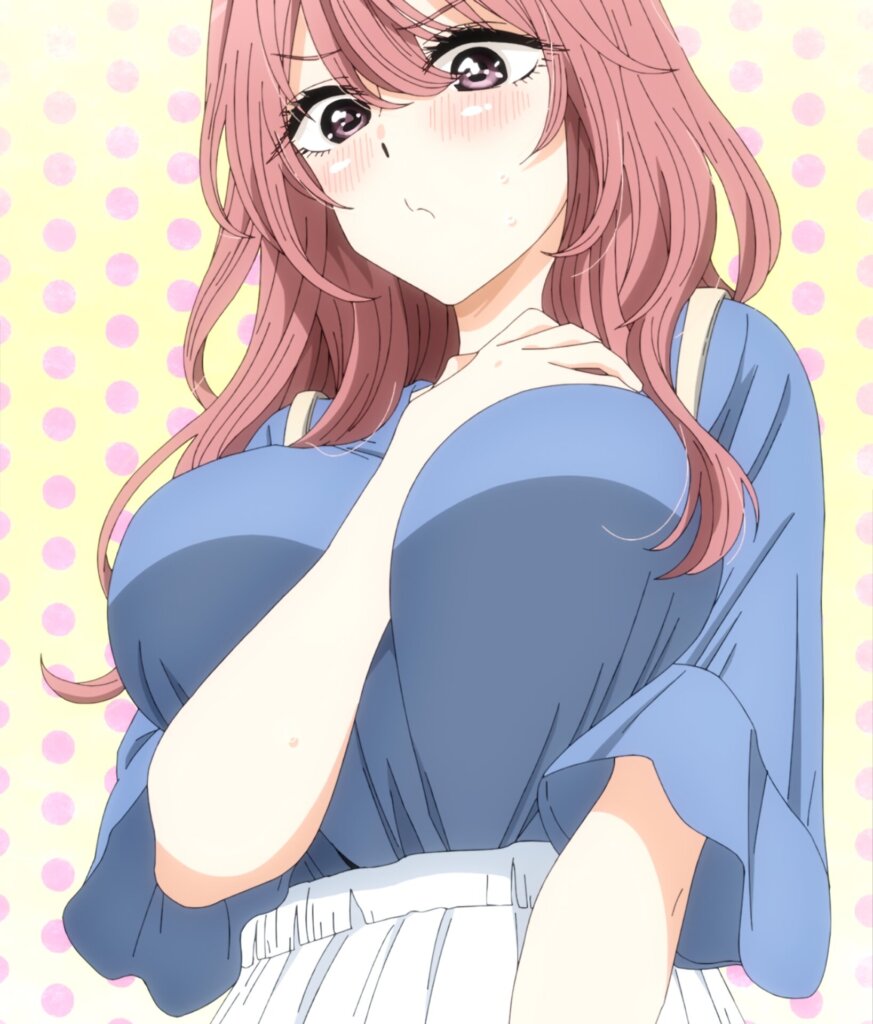
So what are anime stitches? They are multiple screencaps (images from the same scene where the camera moves up or down) combined to make a single, large image.
You might ask, why would someone do that? Well, sometimes you want to see the whole scenery or have your anime waifu as a whole, right? Not to mention that many people who have anime Instagrams love to post anime screenshots and this way, it can be way more unique & prettier than the regular screencaps. For instance, I have tons of anime stitches on my Instagram.
In this guide, I’ll show you 3 ways how to make anime stitches for free.
You need to use a PC for this to work.
1. Get screenshots
First and foremost, you need to take screenshots of the scene/character you want to stitch. Try to opt for a high-quality website/download for the best results.
Press Windows Key + Prtsc every time you take screenshots. They will be saved in the Images folder. Ensure that they all OVERLAP.

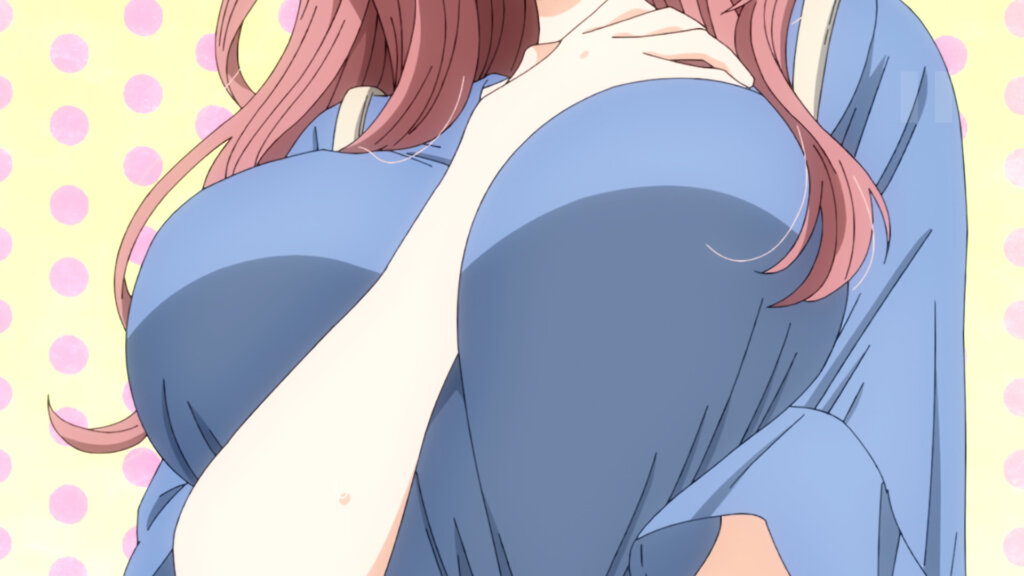
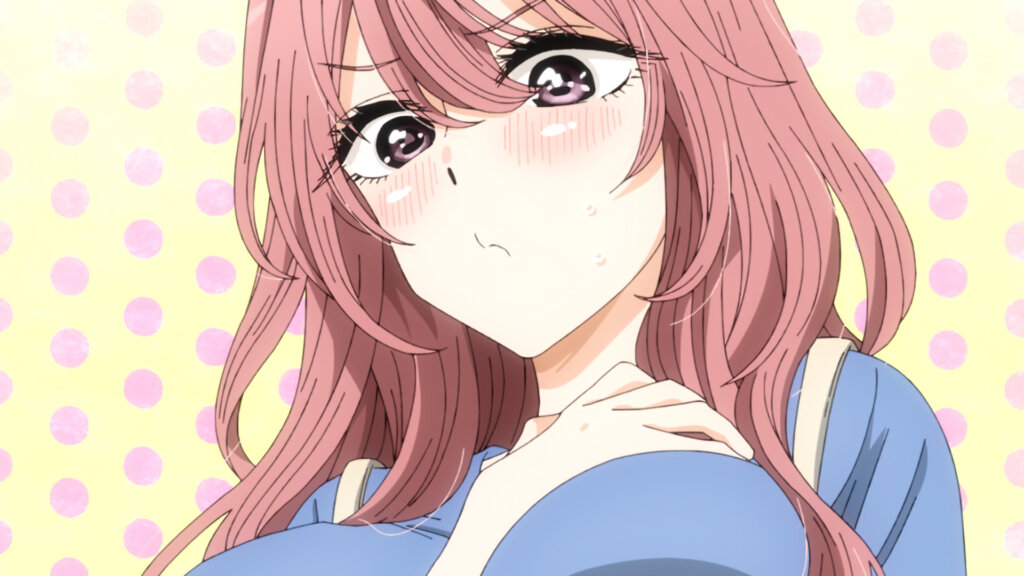
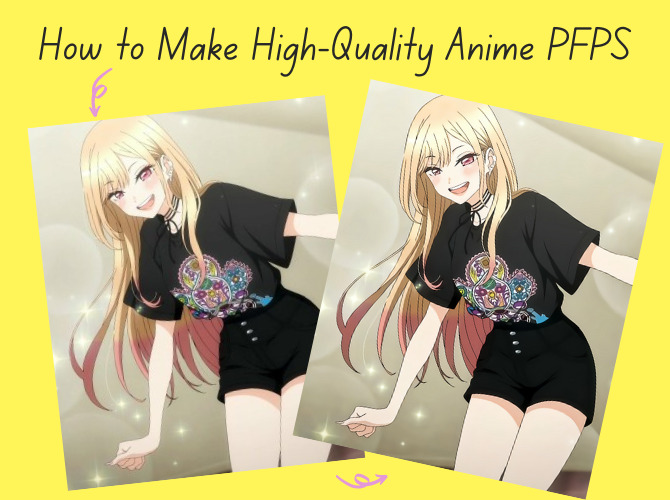
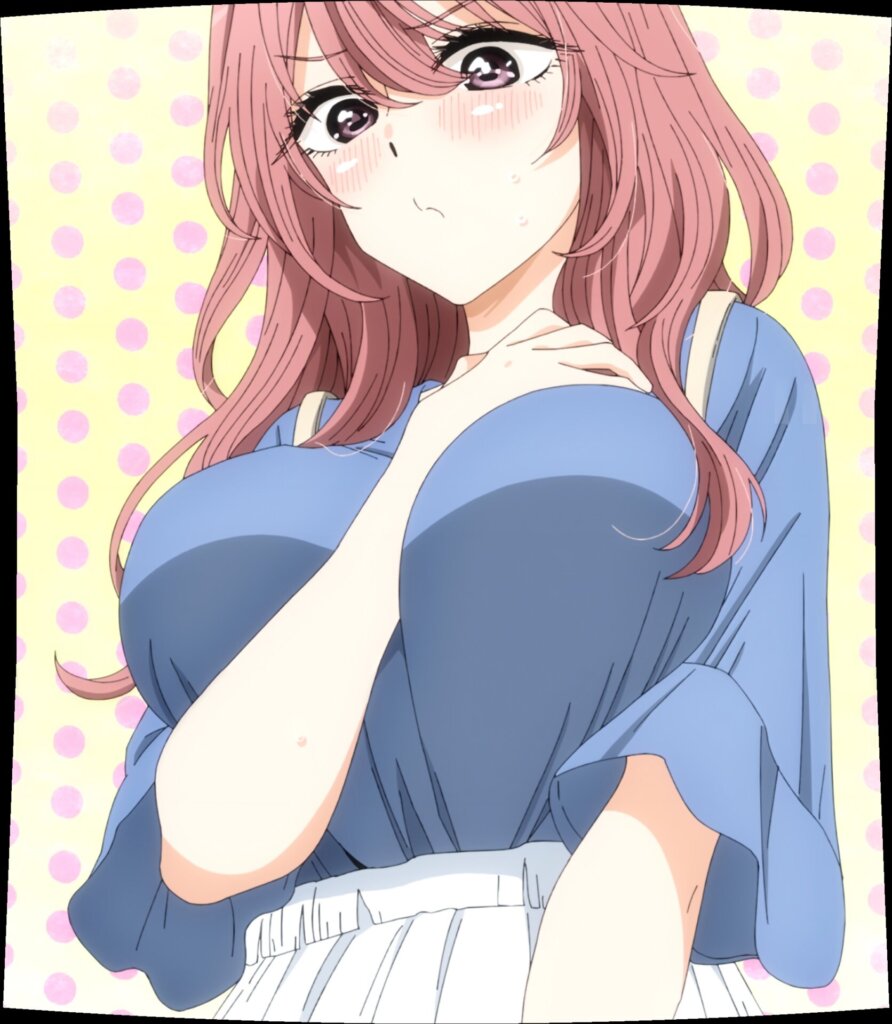
The above example is Shinju Inui from My Dress Up Darling. The camera was moving from the bottom to the top when I was taking them. Sometimes, it will take quite a bit of time to capture all of them when the camera is moving fast.
2. Anime Stitching
There are a few ways how to make anime stitches but I’m going to talk only about the free and easy ones.
You’ll need one of the following programs:
- Microsoft ICE
- Overmix
- Autostitch
All of them work, although there are differences in the results. And don’t worry, they are all automatic, so you don’t have to have any specific knowledge to use them.
Microsoft ICE

My first choice has always been Microsoft ICE. It is the most robust in the size but the truth is that I have achieved the best results with it.
To stitch anime images in Microsoft ICE, open the program ➩ File ➩ New Panorama ➩ Add all the screenshots you want to stitch ➩ Export to disk.
I usually keep Stitch Automatic and I prefer to set my export options to JPEG Image and Quality to 100. The process is automatic and seamless.
Autostitch
The program called Autostitch is also very precise but you’ll have to crop your images after it’s done.
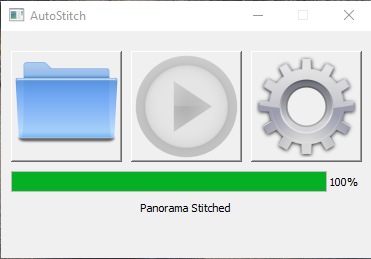
To create an anime stitch, open Autostitch and add at least 2 images by clicking on the first blue folder. It will automatically save and open it after the stitching is done.
After I’m done, I immediately open the 3D Paint Application on Windows and Crop it there because that’s the fastest way.
Overmix
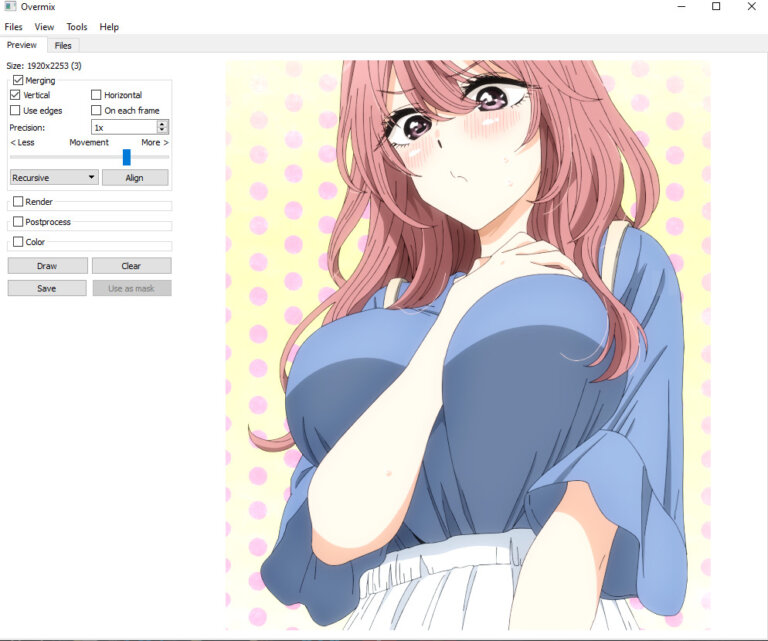
Lastly, there is Overmix. It usually works fine but there were instances when it couldn’t stitch the images properly for me & I achieved better results with the previous two tools.
To make anime anime stitches in Overmix, open the program ➩ Files ➩ Add the anime images you want to stitch together ➩ Align & Draw ➩ Save.
Now that you know how to make anime stitches, why don’t you give it a try? 🙂
Check out this article as well if you’re wondering how to upload images to Instagram (or any other social media platform) with the finest possible quality.
Let me know in the comments which program works best for you. 😉