Have you ever wondered how these Instagram anime icon accounts achieve pixel-perfect, high-quality anime PFPS?
Me too.
When I started my anime Instagram, I had no clue how to make high-quality anime PFPS. I was a big admirer of many anime icons/caps accounts but even when I followed their advice, I could not achieve the same results. Something was missing.
I had to Google quite a bit and try different things over weeks to crack the formula and find answers to how to make quality anime PFPS (almost) effortlessly.
And I’m going to reveal all the tricks I’m using, so grab your warm coffee or tea and let’s get started!
1. Acquiring high-quality screenshots
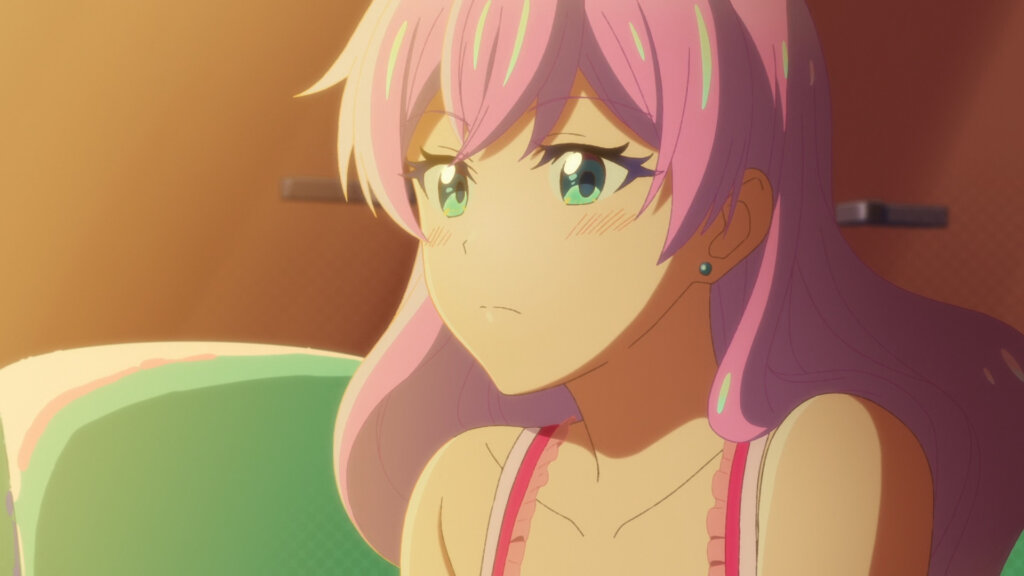
There are two methods how you can get anime screenshots.
The first one is to make them yourself. Watch it or download it from your preferred website and then press Windows Key + Prtsc. The images will be stored in the default Images folder.
The second method relies on Googling anime screenshots. It’s way easier but might provide lower-quality pictures.
Whatever method you choose, the quality of the anime screenshots can be improved if you follow the steps below.
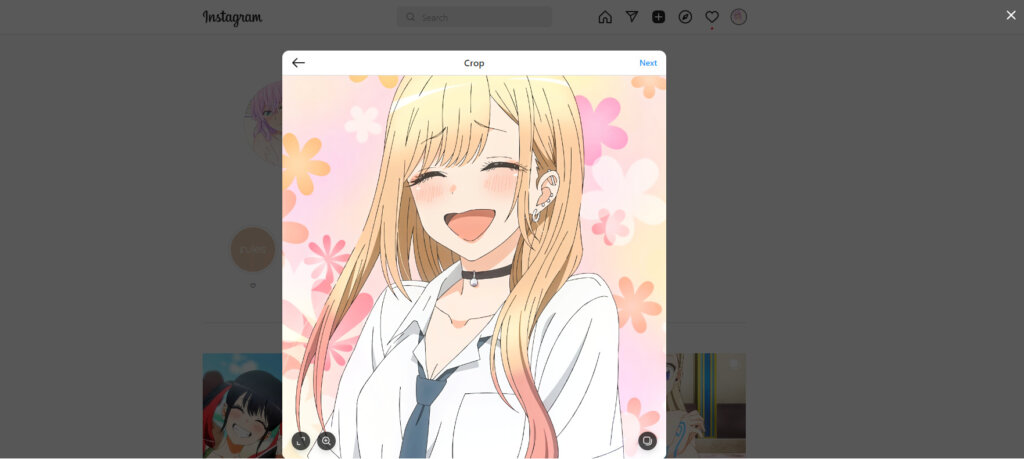
2. Cropping the images
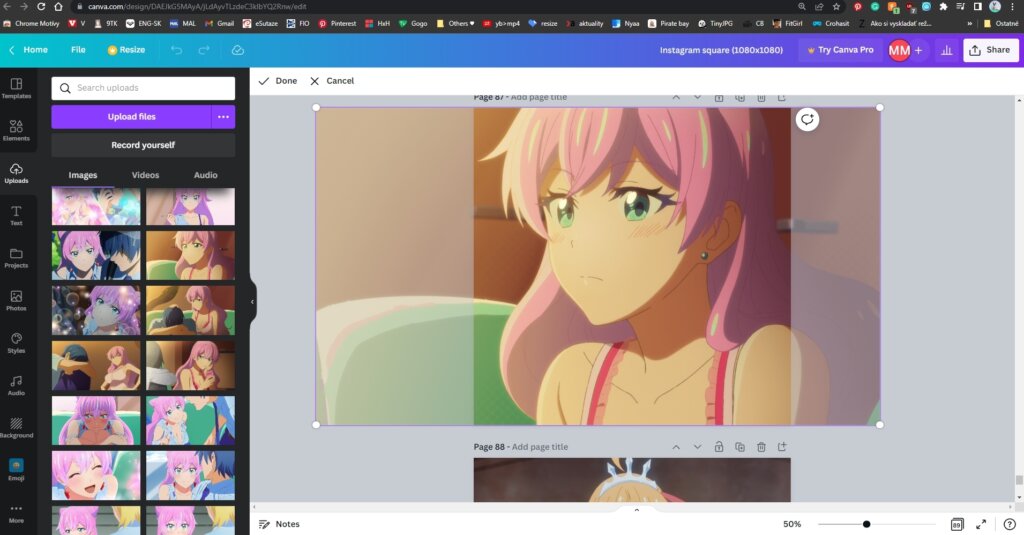
Cropping your image to either a 1:1 Ratio (1080 x 1080 px) or a 4:5 ratio (1080 x 1350 px) is the second step. Make sure that the pixels are set according to the ratio in the brackets. If your screenshots are smaller, you can try first upscaling them (see #4 step).
On a desktop, you can use 3D Paint or Canva to easily crop it for free.
If you are using a phone, you can crop it in the default Photo Editor or applications such as PicsArt, Polarr, Meitu, etc. This is also free.
I always edit my images on a PC because the resolution is way better and I can see things clearer than on my phone.
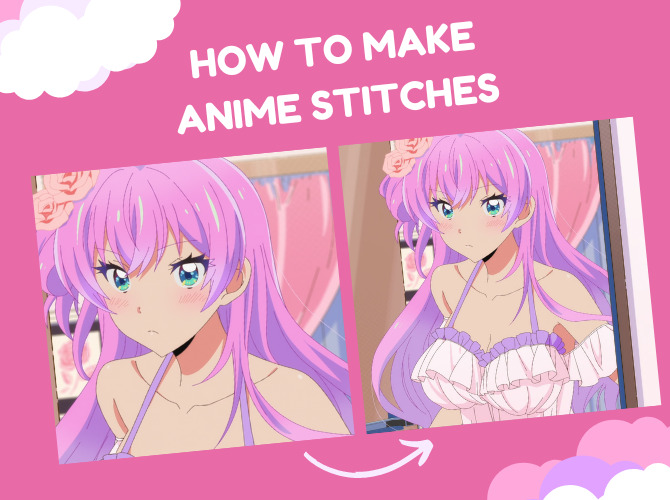
RELATED: How to Make Anime Stitches
3. Balancing sharpness and clarity


This step is what makes the first significant difference between random anime PFPS and high-quality anime PFPS.
When using a PC, my preferred tool to enhance sharpness and clarity is Pixlr. It used to be Polarr but they stopped offering free Detail features in mid-November, so I was forced to switch the application. Pixlr seems to have different Clarity/Sharpness levels and lower-quality export compared to Polarr. But if you test it enough, you can still achieve good results.
You can also download the Pixlr app through Microsoft Store if you don’t want to use the online editor. Pixlr allows you to batch edit a maximum of 5 pictures if you are using the free version. This is, however, sufficient for making your anime PFPS HD in a short time.
To boost clarity and sharpness, open Pixlr Batch Editor, select up to 5 pictures and then find Clarity and Sharpness under Add Task. There, set Clarity to 40 or 50, press Add. Then set Sharpness to 10 or 15 and again click on Add. After you are done, Export as PNG in High Quality. For more pictures, press Clear and add 5 more pictures. It should have the Clarity/Sharpness saved, so you can export the pictures.
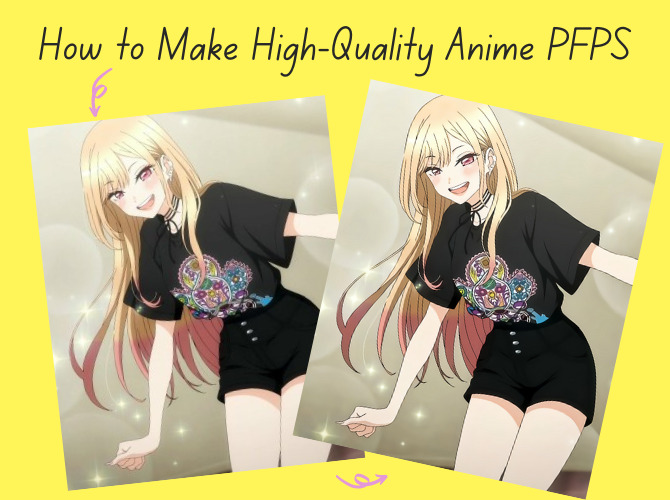
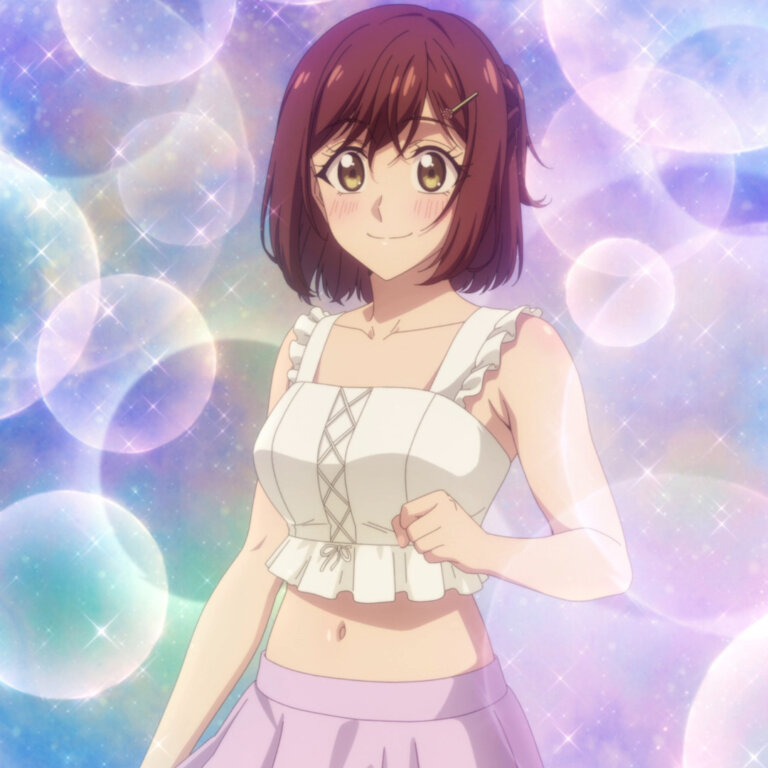
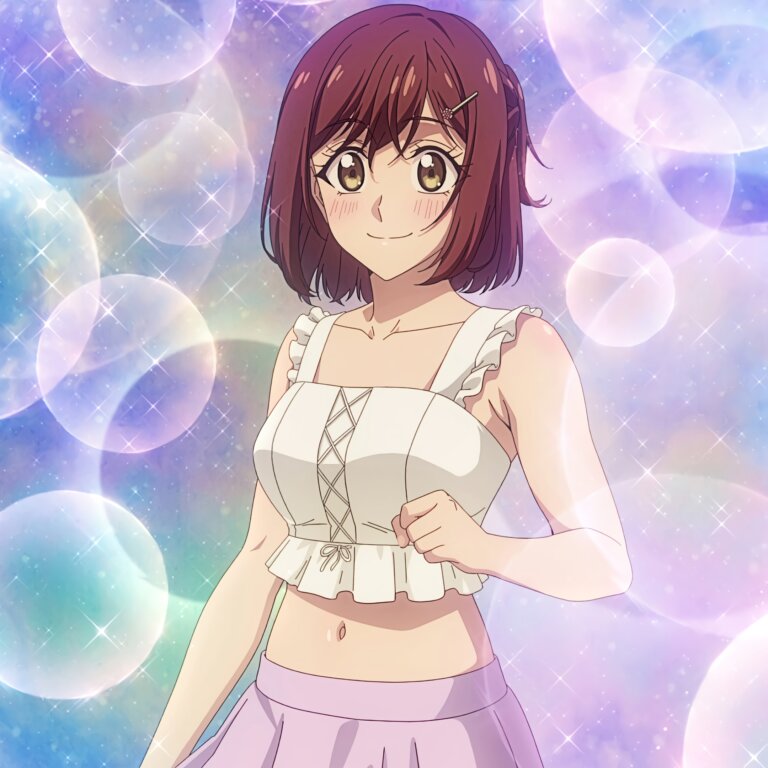
4. Enhancing the quality
Now that your anime PFP is a bit clearer and sharper, you need to improve the quality of the picture. By that, I mean using Waifu2x.
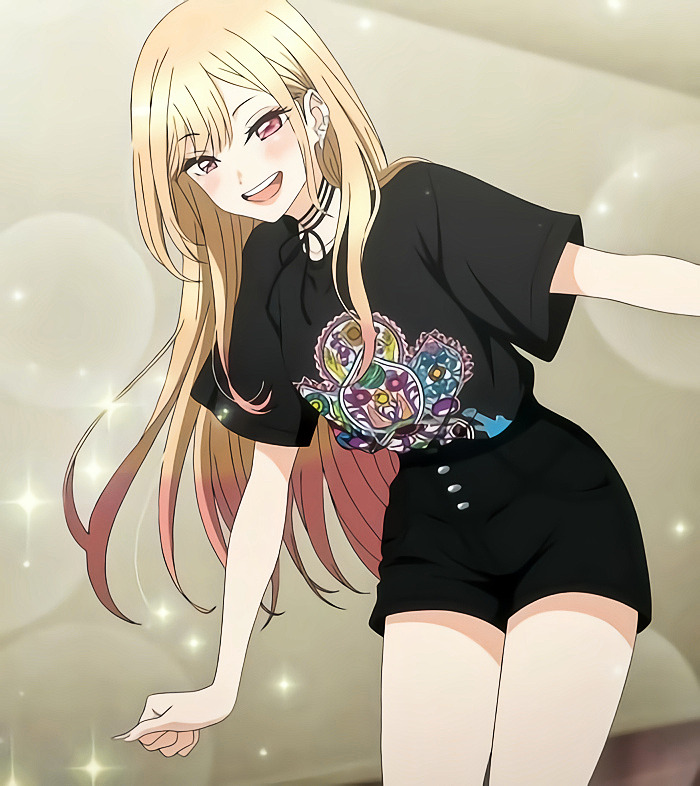
The difference in the pictures above might seem subtle but it makes a lot of difference. The more pixilated the original picture is, the more difference it’ll make. But once you get used to the smooth look of all pictures, you won’t want the default one. Ever.
Waifu2x is an image scaling and noise reduction program for anime-style art and other types of photos.
When I’m on a PC, I prefer to use waifu2x-caffe.
To download the program, scroll down to Assets → waifu2x-caffe.zip
After extracting the contents, open waifu2x-cafee (.exe application).
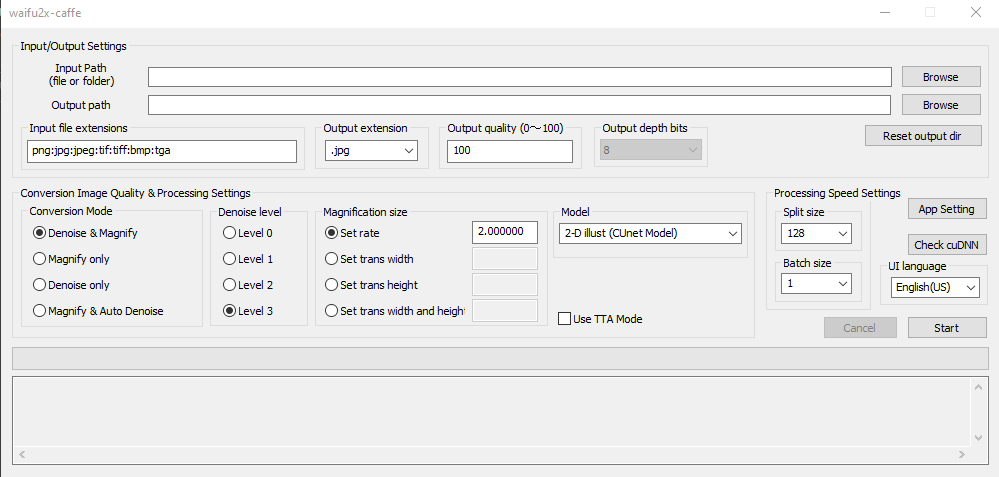
Then apply the following settings:
- Conversion mode: Denoise & Magnify
- Output extension: .jpg
- Denoise level: Level 3
- Output quality: 100
- Magnification size: Set rate 2.000000
- Model: 2-D illust (CUnet Model)
- Split size: 128
- Batch size: 1
Add a picture by clicking on
Browse(on the right in the same line as Input Path). Then pressStart.
This will automatically convert your image and you’ll find it in the same folder just with a different name.
If you have multiple pictures, you can add them all at once or even choose the whole folder to be converted.
There are also online Waifu2x that work well:
The downside is that it’s going to take quite a while if you want to enhance many pictures.
Also, make sure that your Waifu2x enhanced PFPS will not be in a PNG format. You want only JPG/JPEG formats for Instagram. This is because Instagram will convert your images if they are not JPG/JPEG and as a result, you will lose some of the quality during this process.
5. Uploading
Now, the way you upload your anime PFPS to your Instagram actually matters. I prefer to edit and upload them directly from my PC as I have full control over the quality. It is true that Instagram will compress them anyways but it won’t be that visible if you’ve used the settings I mentioned.
When you are sending your images through any messenger, it can compress/resize them. The reliable alternative would be sending them through Gmail if you are adamant about uploading from a phone.
But if you can, try to upload them from your PC to your desktop Instagram.
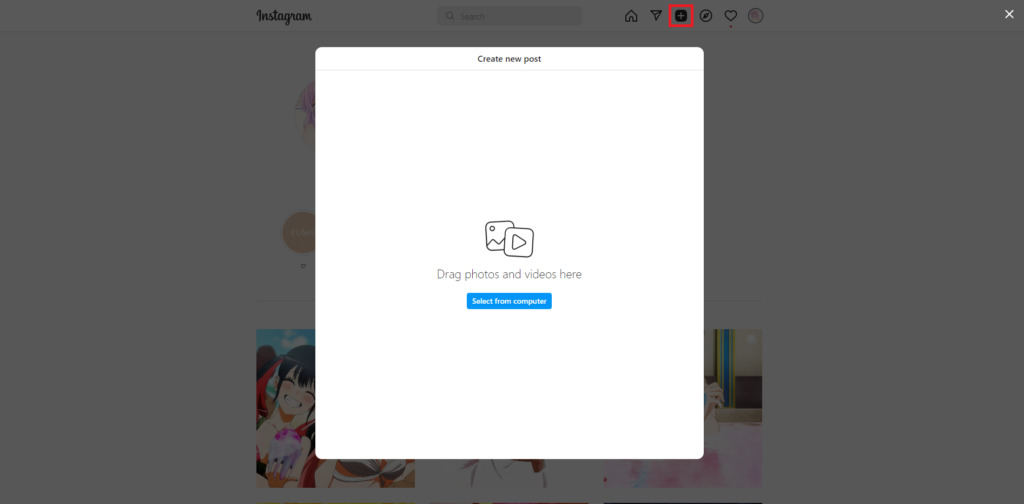
Click on the
+icon and then onSelect from computer. Upload your pictures →Next→Next→ Write your caption →Share.
Voilà, you are all done! Now you know how to make high-quality anime PFPS!